每日分享:
迷茫时读书,难过时运动,低谷时沉淀,独处时自省。
做一个能够抵御寒冬,也能够拥抱春天的人。
一、数据建模
通常在做项目的过程中,在items.py中进行数据建模
1.1 为什么建模
- 定义item即提前规划好哪些字段需要抓,防止手误,因为定义好之后,在运行过程中,系统会自动检查
- 配合注释一起可以清晰的知道要抓取哪些字段,没有定义的字段不能抓取,在目标字段少的时候可以使用字典代替
- 使用scrapy的一些特定组件需要item做支持,如scrapy的imagesPipeline管道类
1.2 如何建模
在items.py文件中定义要提取的字段:
class MyspiderItem(scrapy.Item):
    name = scrapy.Field()
    level = scrapy.Field()
    text = scrapy.Field()
1.3 如何使用模板类
模板类定义以后需要在爬虫中导入并实例化,之后的使用方法和之前使用字典相同
from items import MyspiderItem
...
    def parse(self, response):
        # 实例化后可直接使用
        item = MyspiderItem()
        item['name'] = node.xpath('./h3/text()').extract_first()
        item['level'] = node.xpath('./h4/text()')[0].extract()
        item['text'] = node.xpath('./p/text()')[0].extract()

        print(item)
注意:
- from myspider.items import MyspiderItem这一行代码中要注意item的正确导入路径,忽略pycharm标记的错误
- 可以简单的记为:从哪里开始运行就从哪里开始导入。如下图:
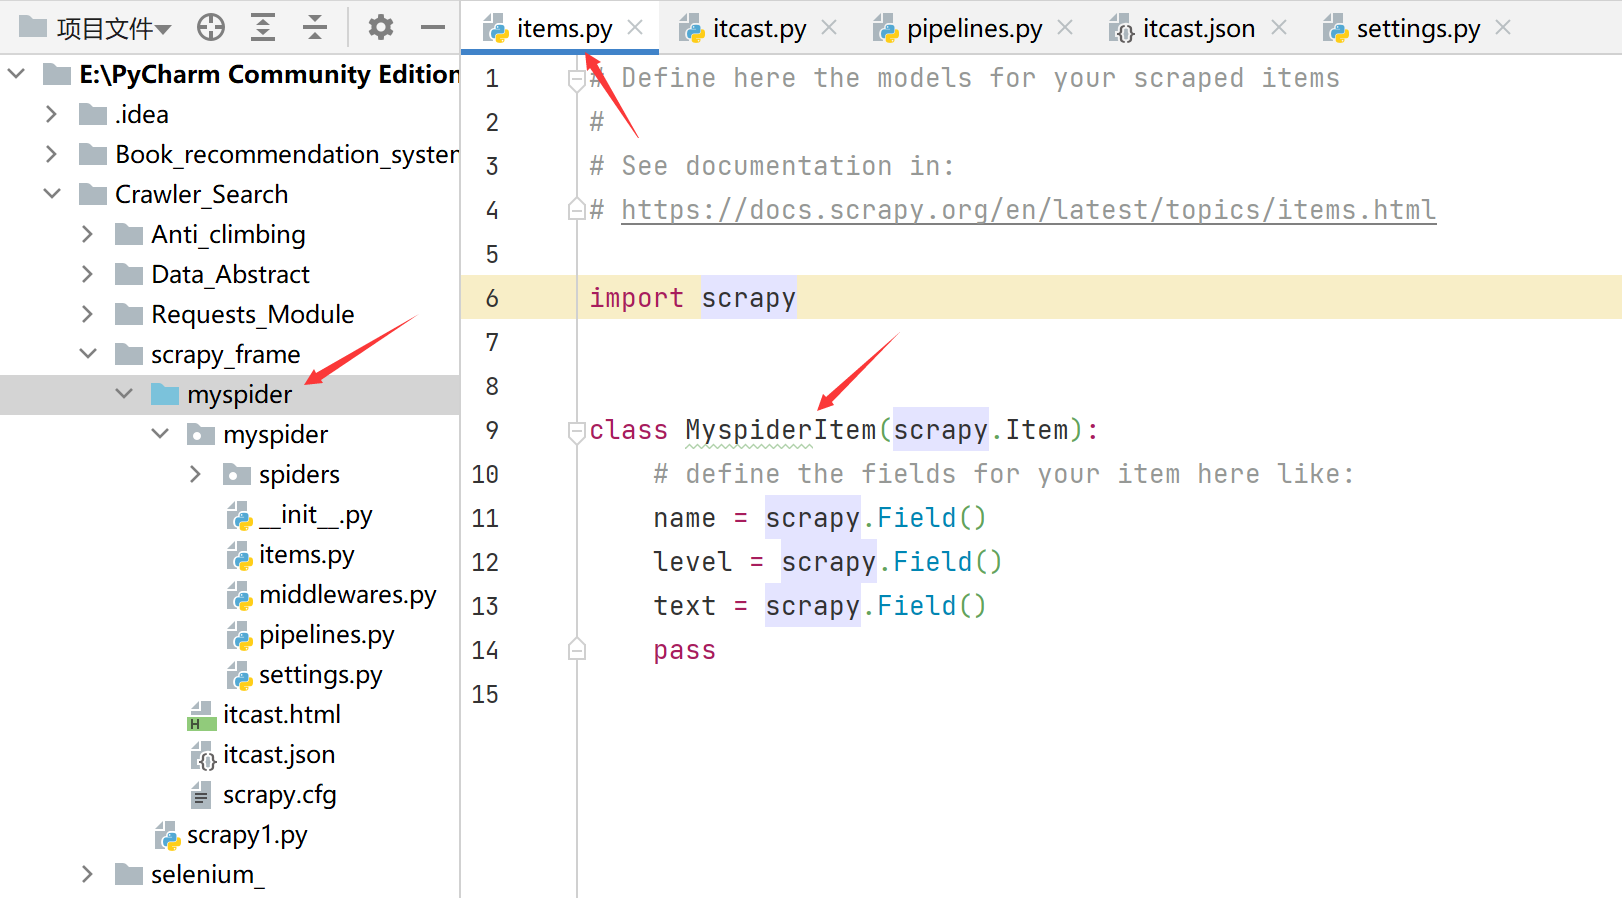
从第一个myspider运行,所以把第一个myspider设为根目录之后导入就直接可以:
from myspider.items import MyspiderItem
如何设置根目录:
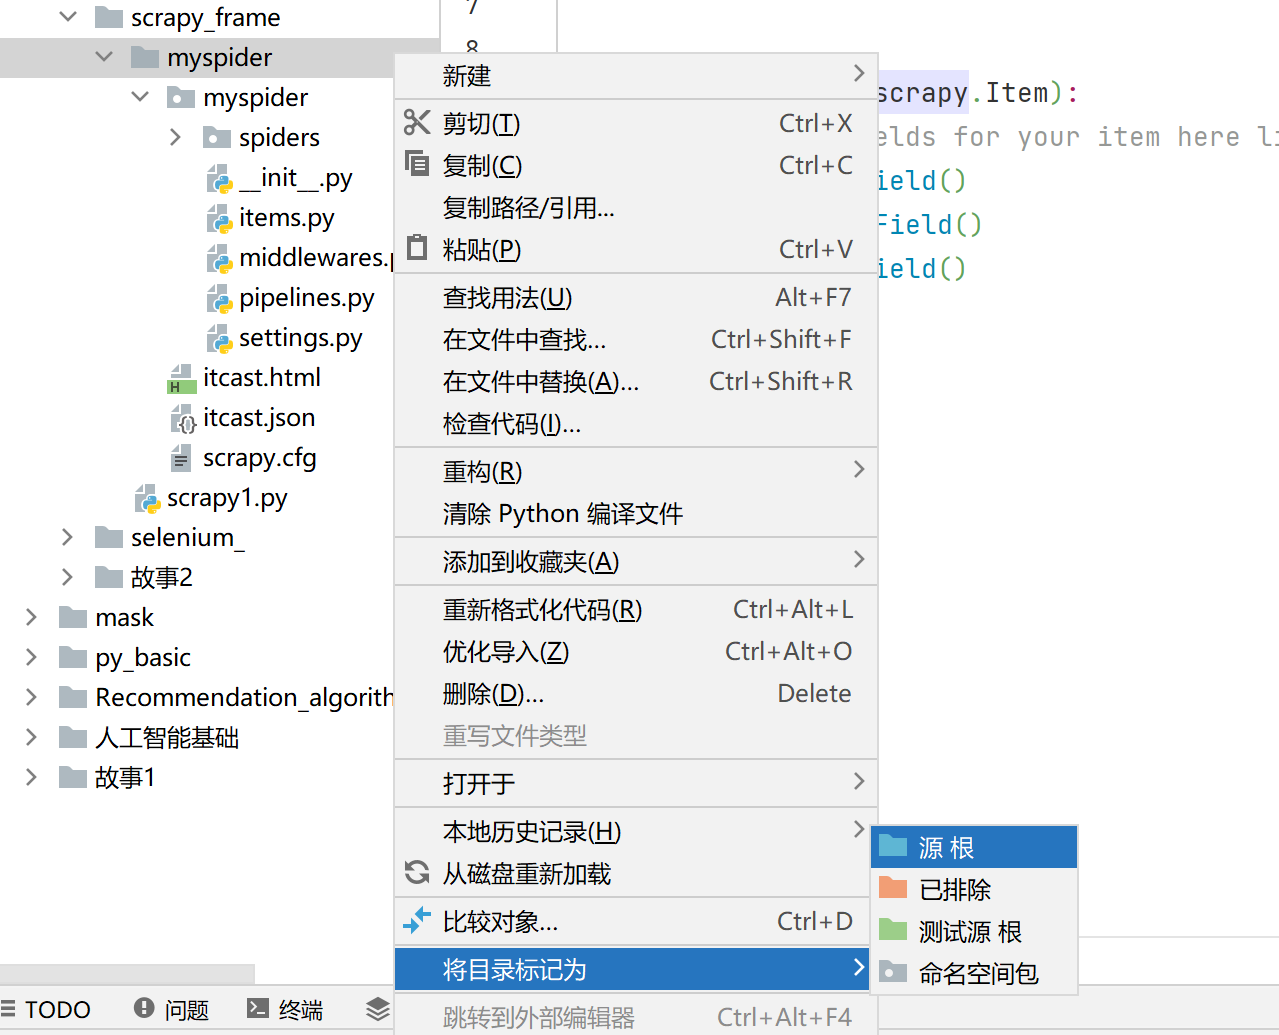
变色了就说明设置成功:

1.4 开发流程总结
1. 创建项目
scrapy startproject 项目名
2. 明确目标
在items.py文件中进行建模
3. 创建爬虫
3.1 创建爬虫
scrapy genspider 爬虫名 允许的域名
3.2 完成爬虫
修改start_urls
检查修改allowed_domains
编写解析方法
4. 保存数据
在pipelines.py文件中定义对数据处理的管道
在settings.py文件中注册启用管道
1.5 开发流程实例(在上篇文章例子基础上更改的代码)
1. 创建项目:
scrapy startproject myspider
2. 在items.py文件中进行建模:
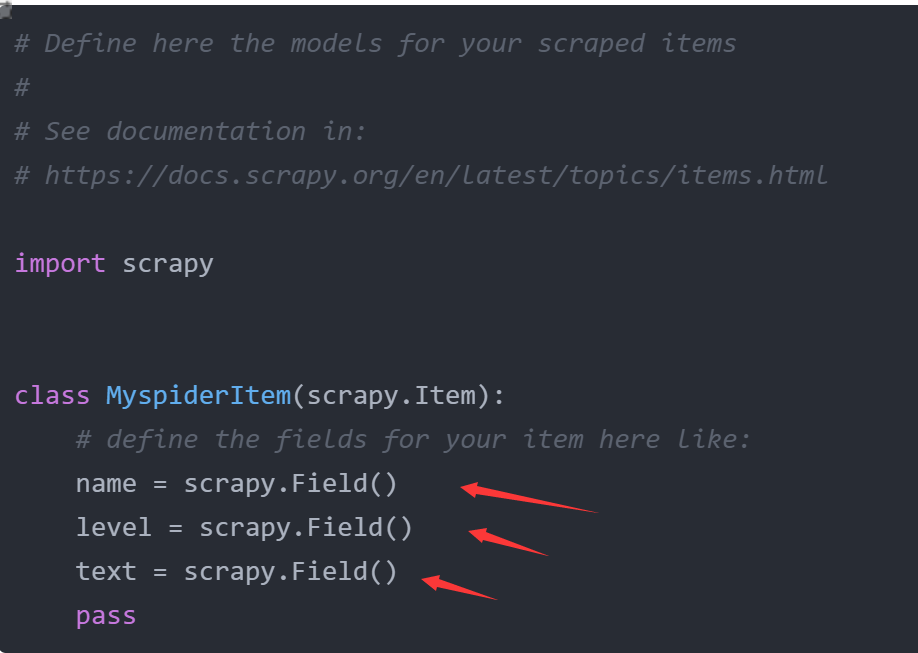
源码:
# Define here the models for your scraped items
#
# See documentation in:
# https://docs.scrapy.org/en/latest/topics/items.html

import scrapy


class MyspiderItem(scrapy.Item):
    # define the fields for your item here like:
    name = scrapy.Field()
    level = scrapy.Field()
    text = scrapy.Field()
    pass
3.1 创建爬虫:
scrapy genspider itcast itcast.cn
3.2 完成爬虫:
- 修改start_urls
- 检查修改allowed_domains
- 编写解析方法
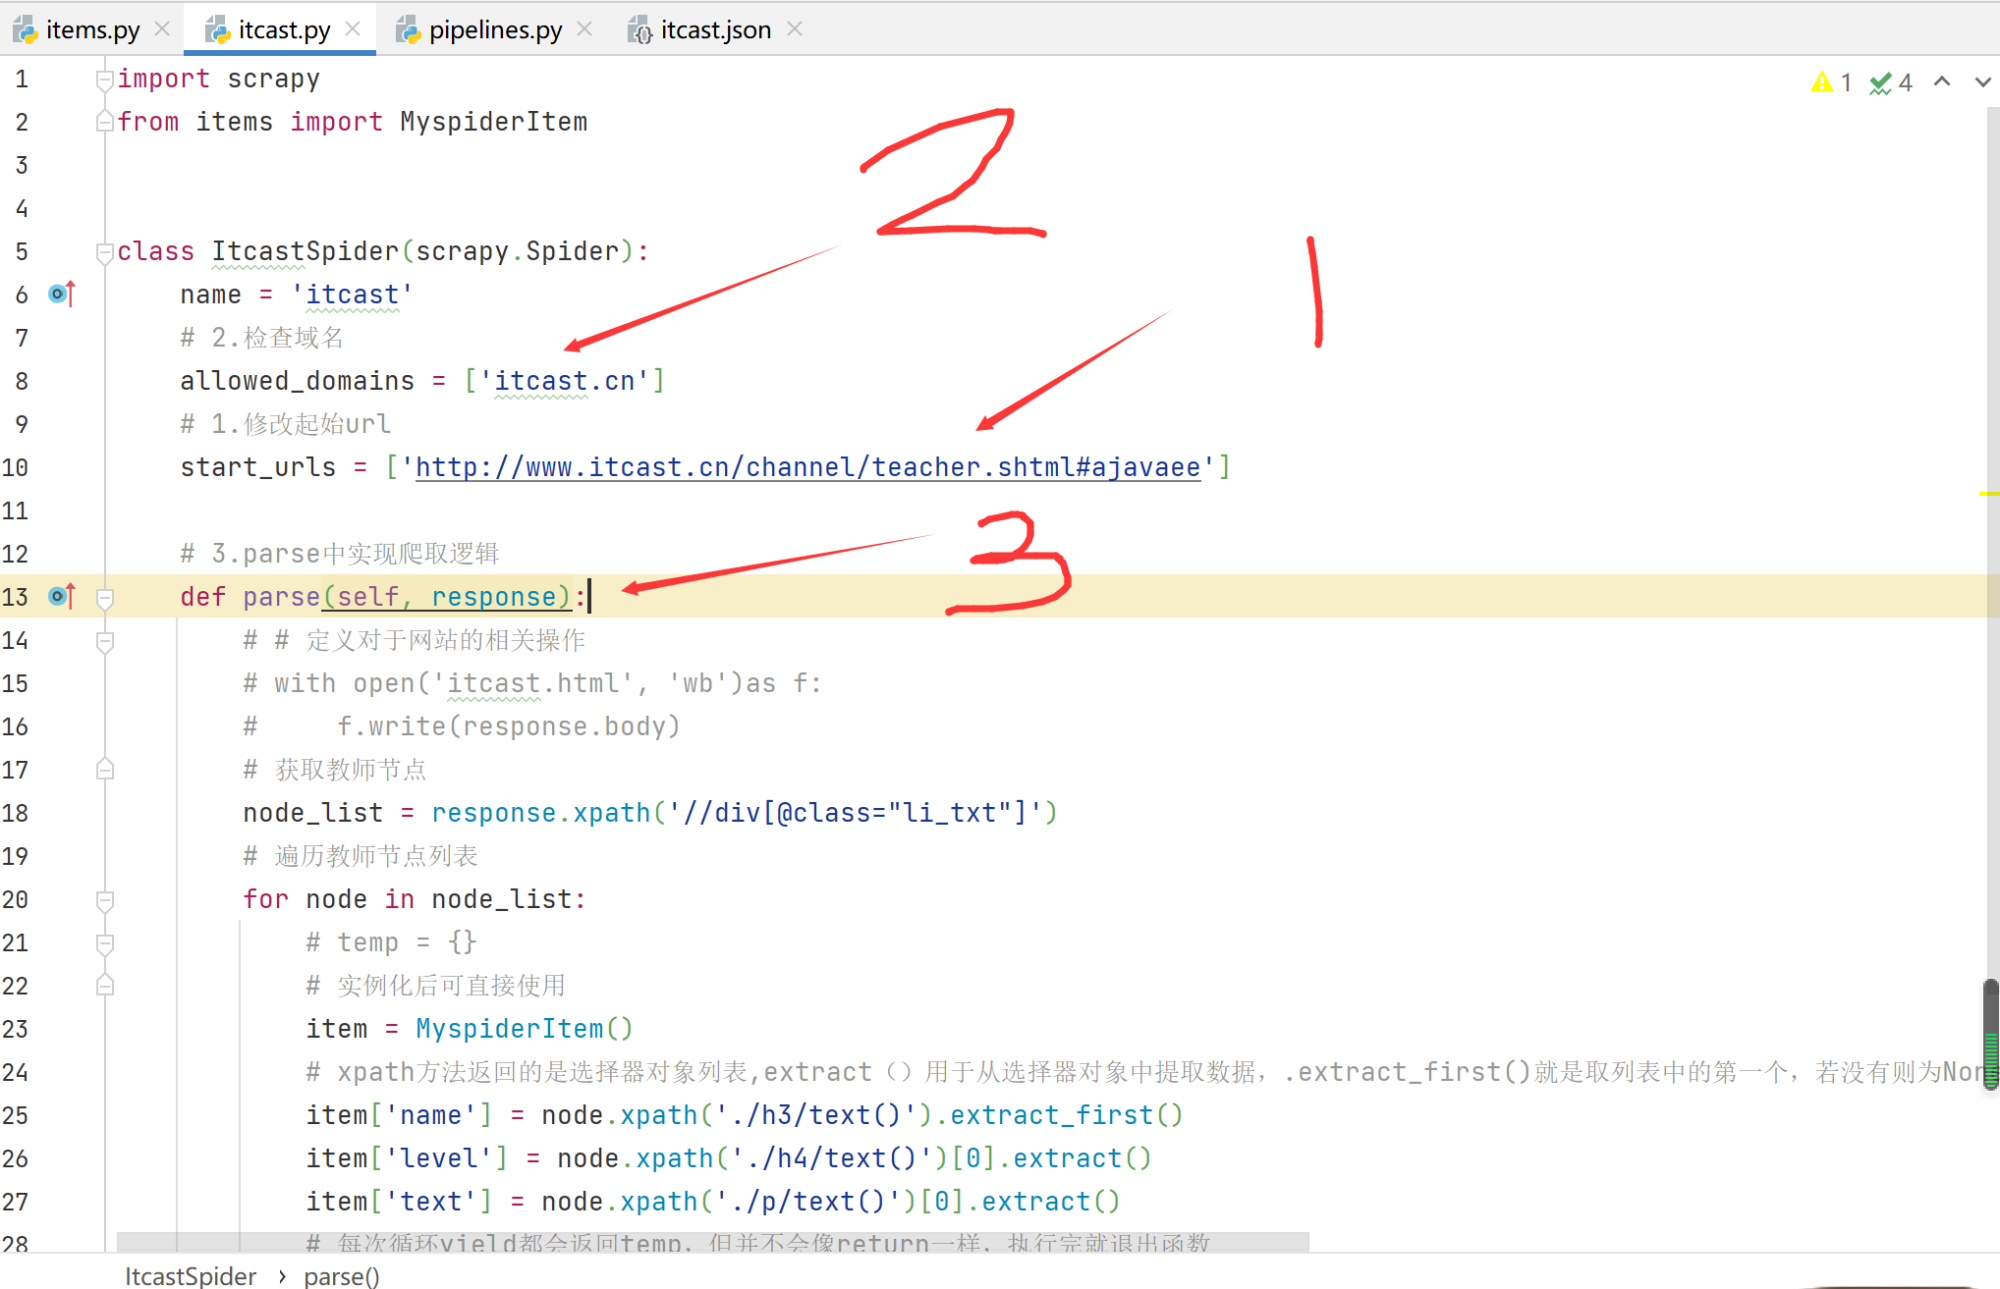
源码:
import scrapy
from items import MyspiderItem


class ItcastSpider(scrapy.Spider):
    name = 'itcast'
    # 2.检查域名
    allowed_domains = ['itcast.cn']
    # 1.修改起始url
    start_urls = ['http://www.itcast.cn/channel/teacher.shtml#ajavaee']

    # 3.parse中实现爬取逻辑
    def parse(self, response):
        # # 定义对于网站的相关操作
        # with open('itcast.html', 'wb')as f:
        #     f.write(response.body)
        # 获取教师节点
        node_list = response.xpath('//div[@class="li_txt"]')
        # 遍历教师节点列表
        for node in node_list:
            # temp = {}
            # 实例化后可直接使用
            item = MyspiderItem()
            # xpath方法返回的是选择器对象列表,extract()用于从选择器对象中提取数据,.extract_first()就是取列表中的第一个,若没有则为None;[0].extract()结果与.extract_first()一样,但如果列表没有数据就会报错
            item['name'] = node.xpath('./h3/text()').extract_first()
            item['level'] = node.xpath('./h4/text()')[0].extract()
            item['text'] = node.xpath('./p/text()')[0].extract()
            # 每次循环yield都会返回temp,但并不会像return一样,执行完就退出函数
            yield item
4. 保存数据:
1. 在pipelines.py文件中定义对数据处理的管道
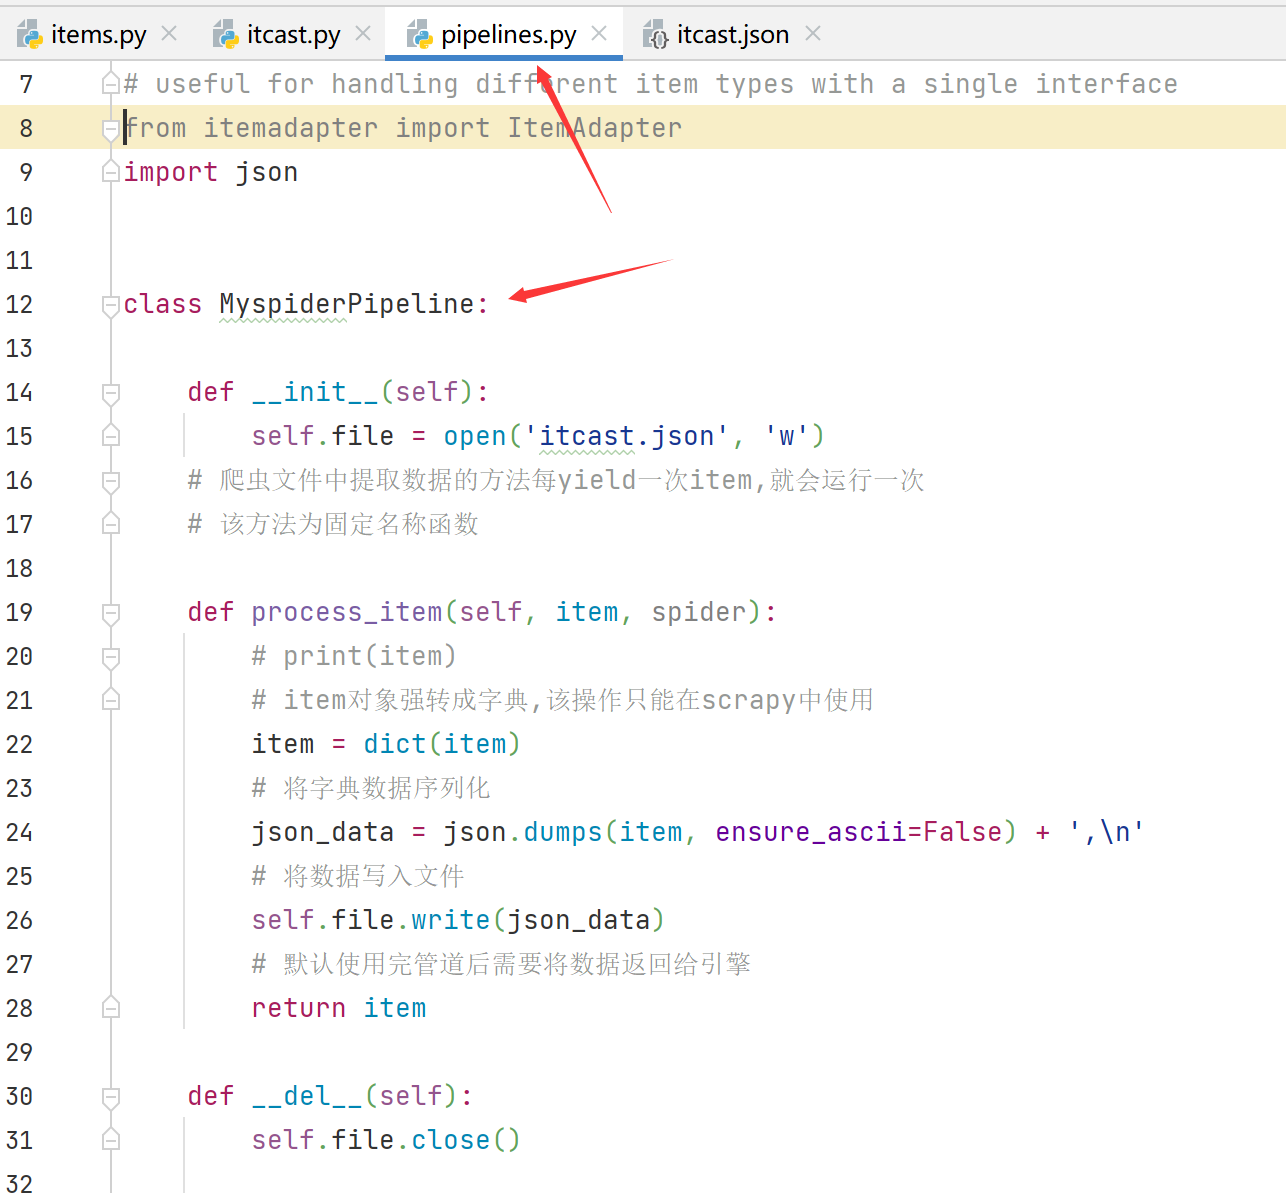
源码:
# Define your item pipelines here
#
# Don't forget to add your pipeline to the ITEM_PIPELINES setting
# See: https://docs.scrapy.org/en/latest/topics/item-pipeline.html


# useful for handling different item types with a single interface
from itemadapter import ItemAdapter
import json


class MyspiderPipeline:

    def __init__(self):
        self.file = open('itcast.json', 'w')
    # 爬虫文件中提取数据的方法每yield一次item,就会运行一次
    # 该方法为固定名称函数

    def process_item(self, item, spider):
        # print(item)
        # item对象强转成字典,该操作只能在scrapy中使用
        item = dict(item)
        # 将字典数据序列化
        json_data = json.dumps(item) + ',\n'
        # 将数据写入文件
        self.file.write(json_data)
        # 默认使用完管道后需要将数据返回给引擎
        return item

    def __del__(self):
        self.file.close()
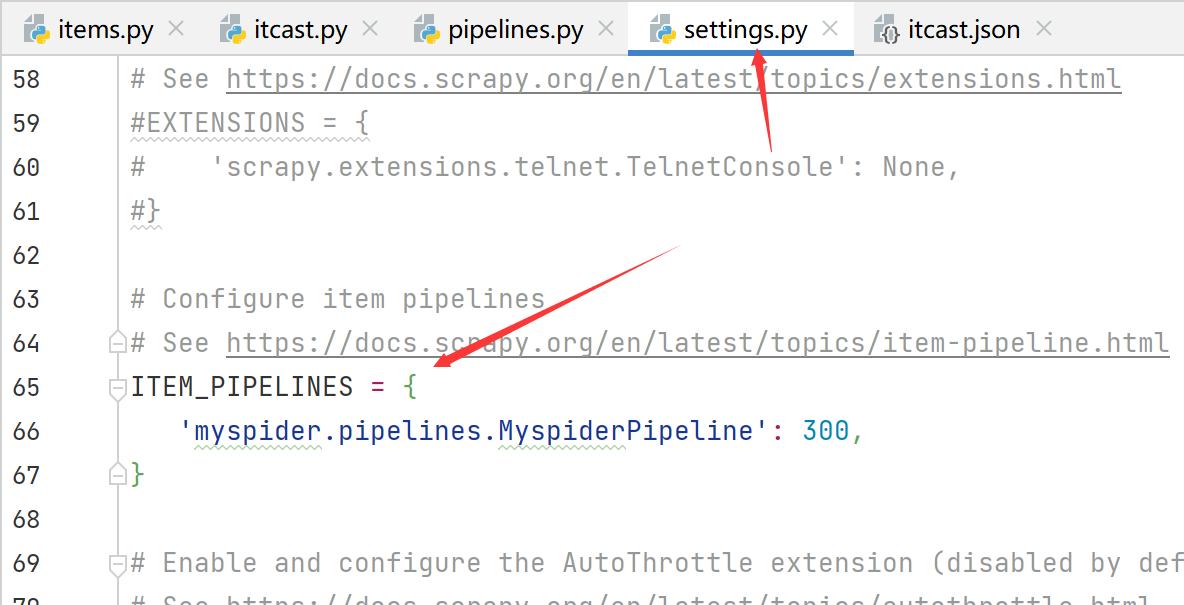
2. 在settings.py文件中注册启用管道
5. 运行程序
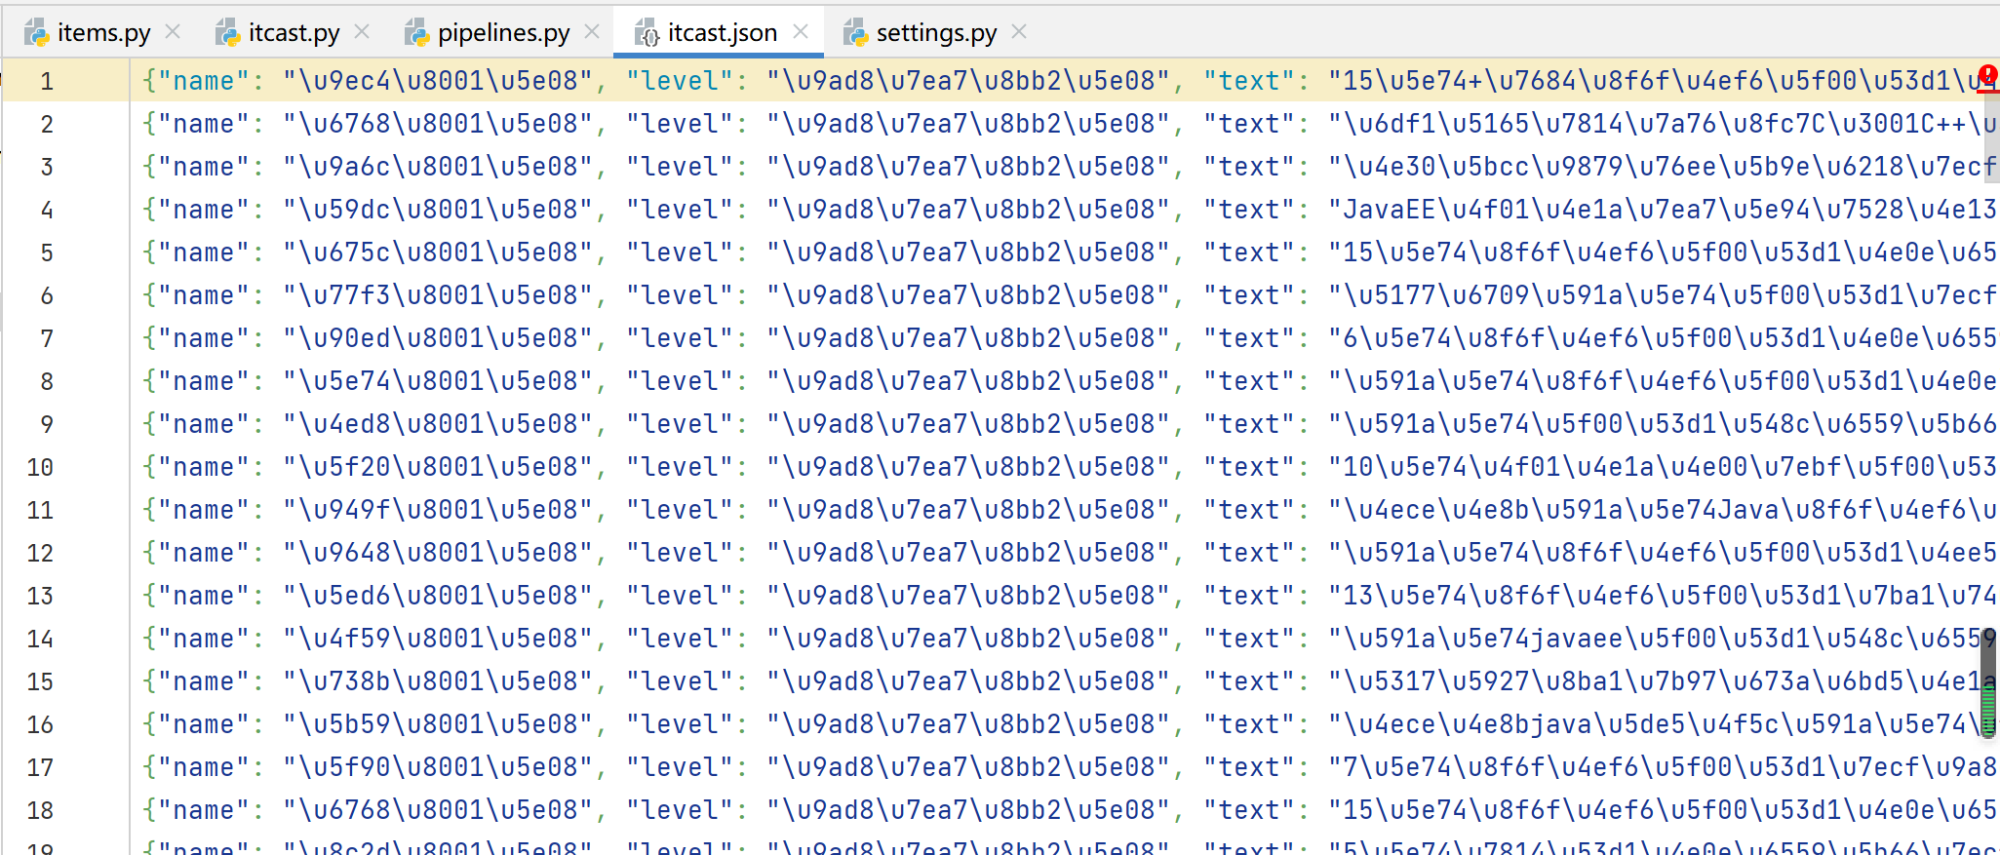
先cd到myspider目录,之后输入scrapy crawl itcast即可运行

结果:
神龙|纯净稳定代理IP免费测试>>>>>>>>天启|企业级代理IP免费测试>>>>>>>>IPIPGO|全球住宅代理IP免费测试


