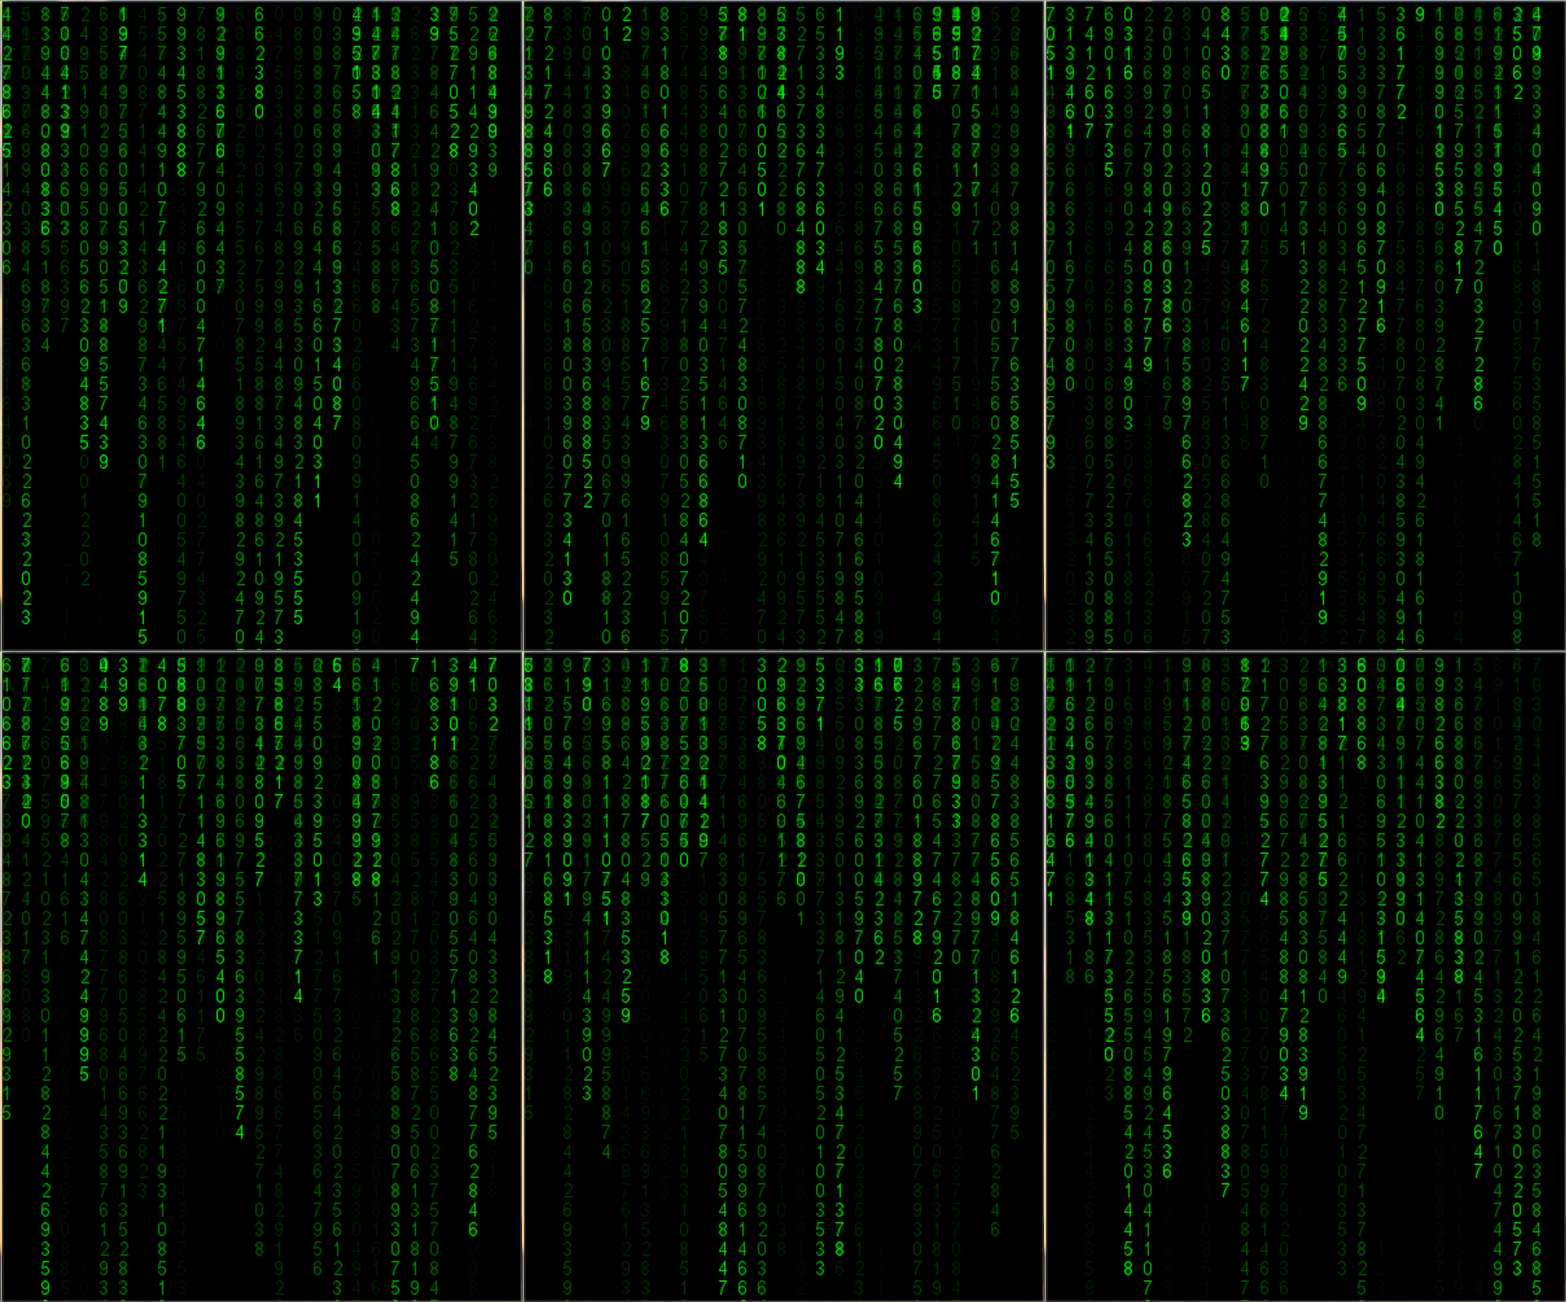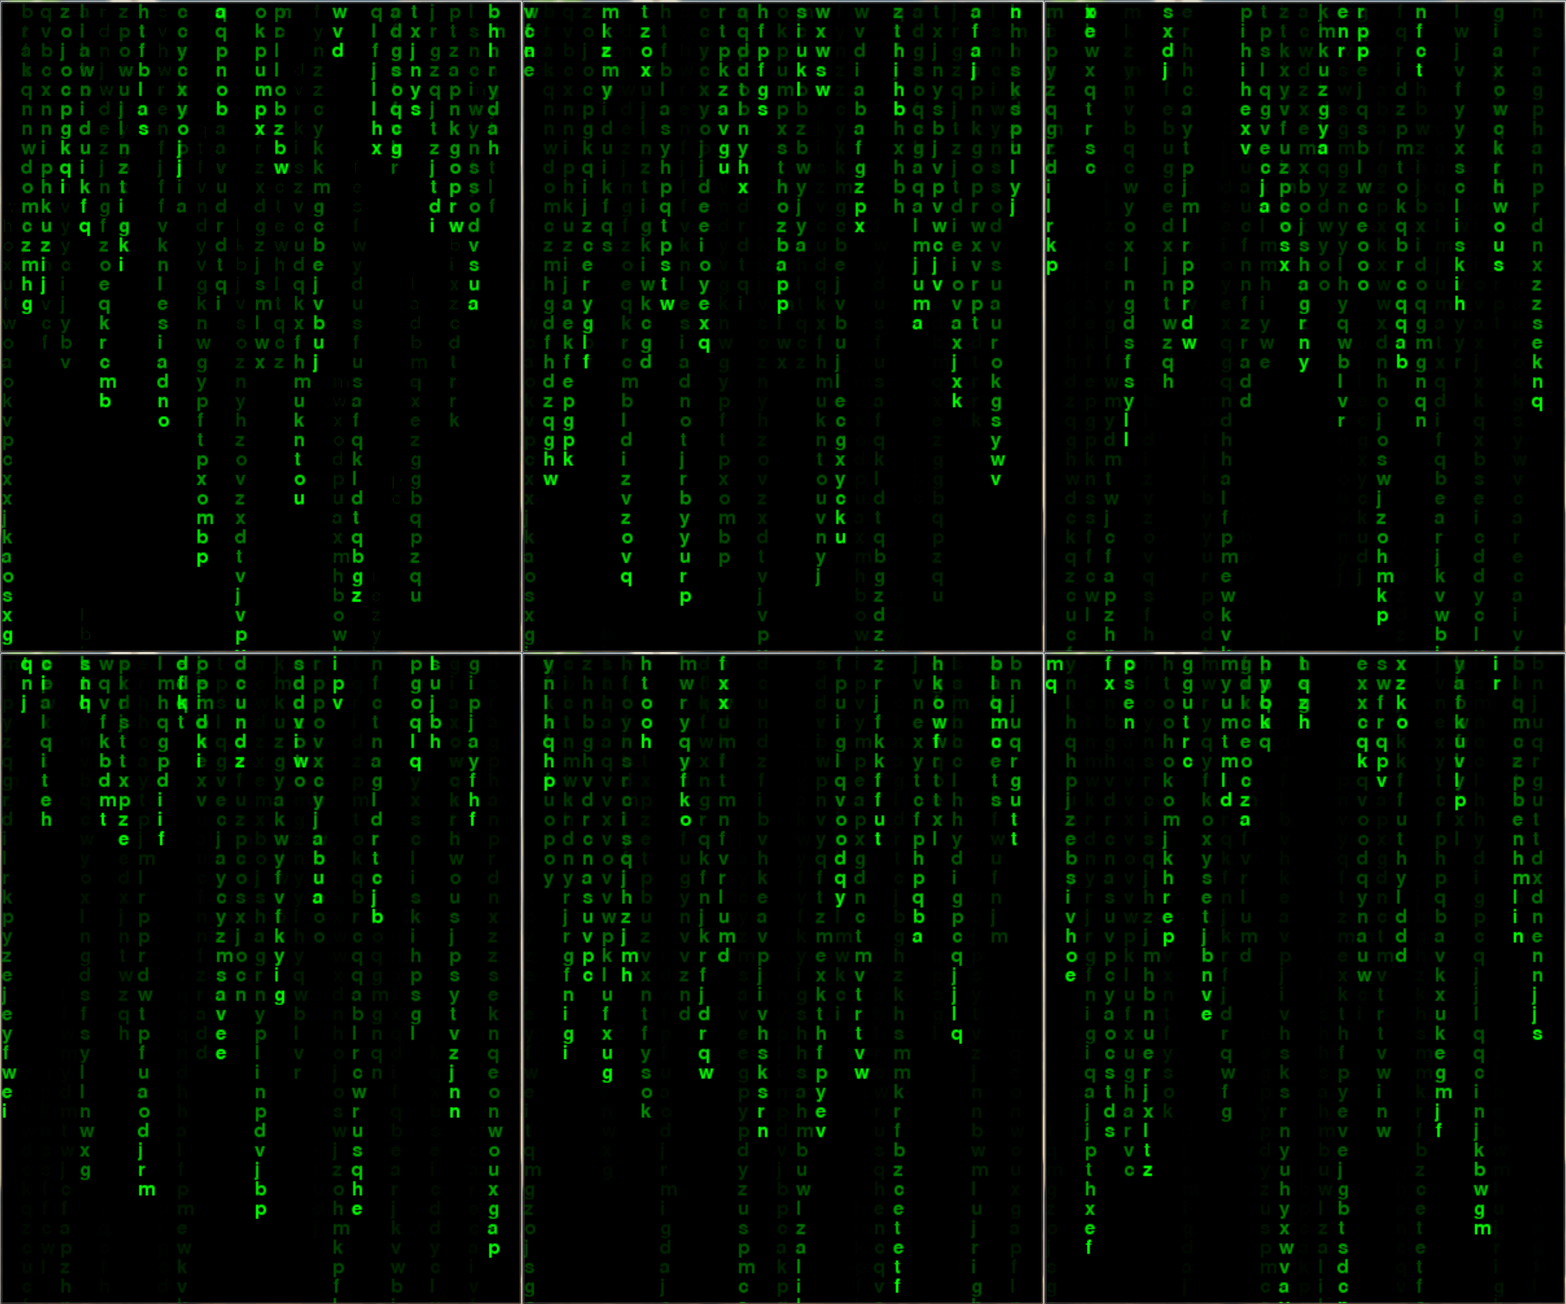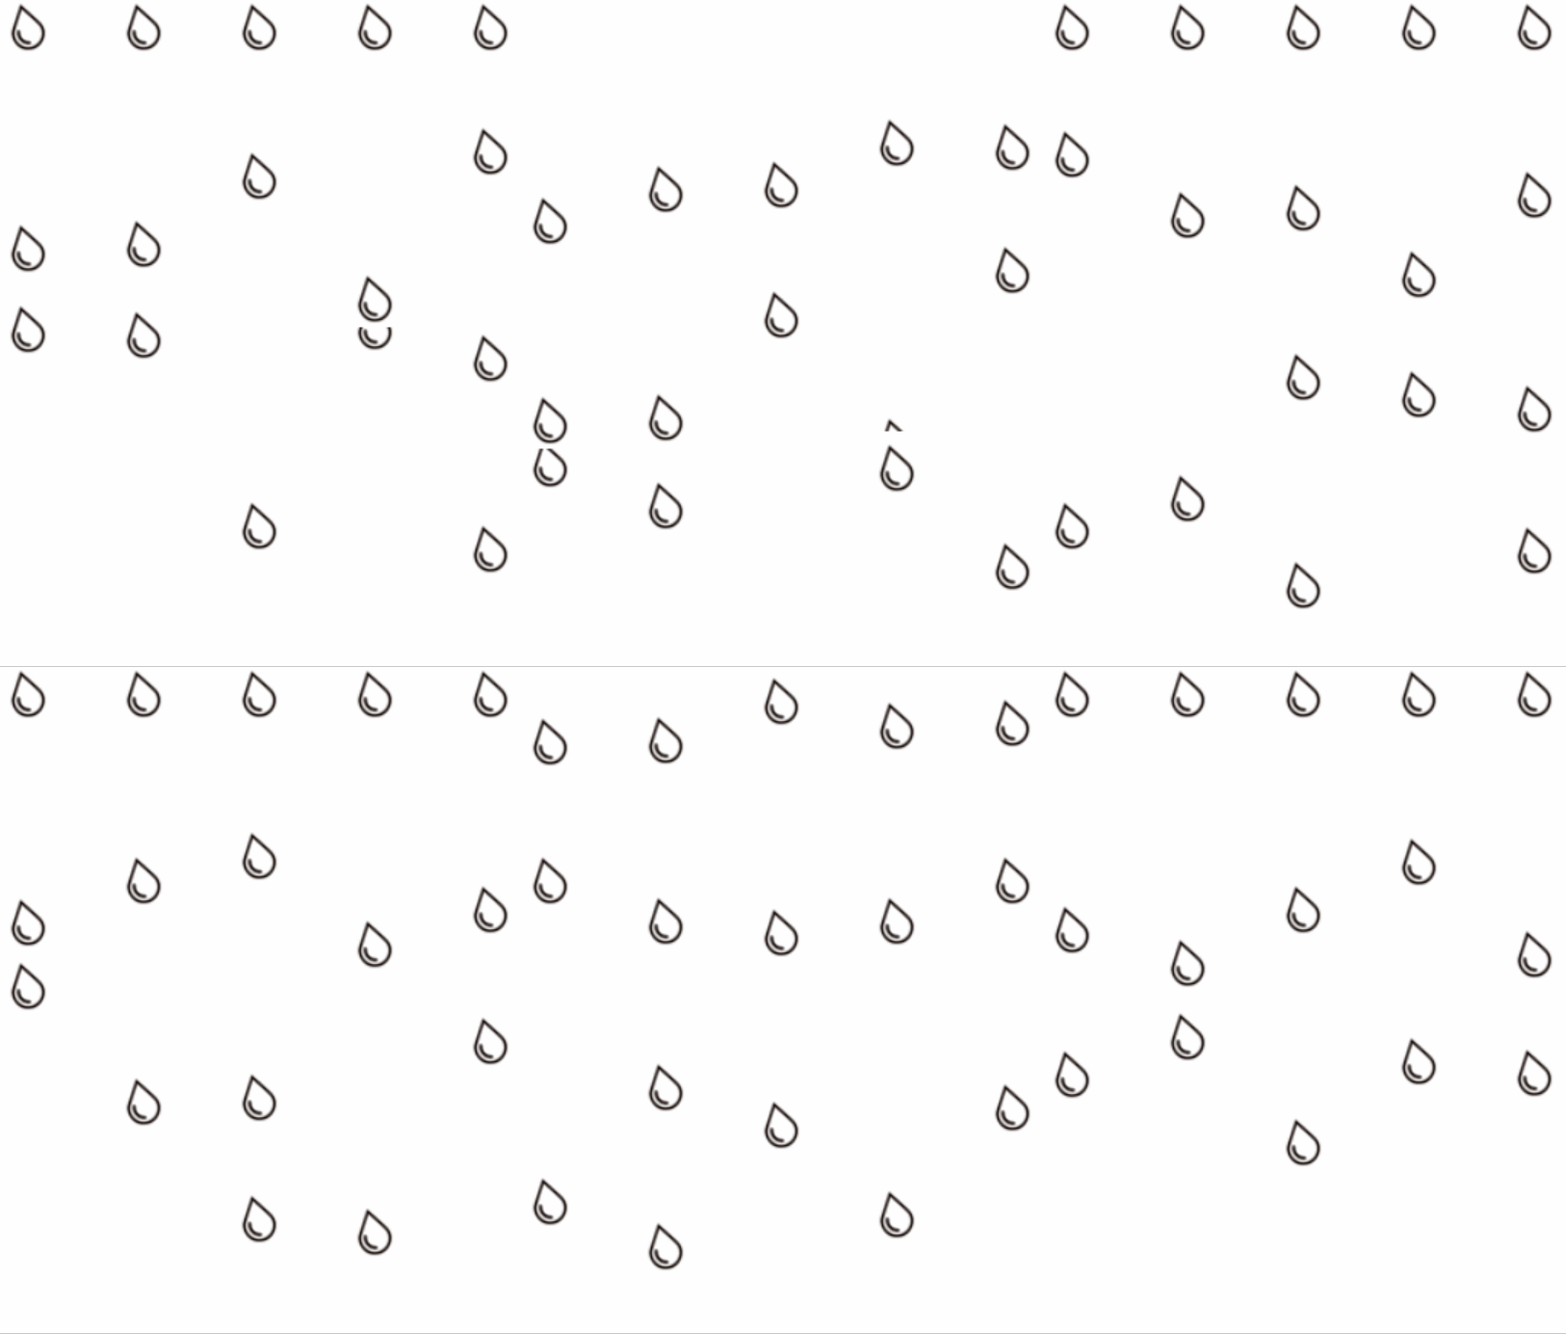
说起电影《黑客帝国》,相信大部分人都看过或听说过,影片中有一个场景数字雨,如果你看过电影的话,应该对这个经典场景印象深刻,本文我们利用 Python 以数字、字母、图片三种形式来实现这一效果。
1. 数字
首先,我们来实现数字雨,我们需要创建一个窗口来显示内容,窗口的创建使用 pygame 库,代码实现如下:
FONT_PX = 15
pygame.init()
winSur = pygame.display.set_mode((500, 600))
font = pygame.font.SysFont('fangsong', 20)
bg_suface = pygame.Surface((500, 600), flags=pygame.SRCALPHA)
pygame.Surface.convert(bg_suface)
bg_suface.fill(pygame.Color(0, 0, 0, 13))
winSur.fill((0, 0, 0))
# 数字
texts = [font.render(str(i), True, (0, 255, 0)) for i in range(10)]
colums = int(500 / FONT_PX)
drops = [0 for i in range(colums)]
while True:
    for event in pygame.event.get():
        if event.type == pygame.QUIT:
            exit()
    pygame.time.delay(33)
    winSur.blit(bg_suface, (0, 0))
    for i in range(len(drops)):
        text = random.choice(texts)
        winSur.blit(text, (i * FONT_PX, drops[i] * FONT_PX))
        drops[i] += 1
        if drops[i] * 10 > 600 or random.random() > 0.95:
            drops[i] = 0
    pygame.display.flip()
实现效果如下:

2. 字母
接着,我们再来实现字母雨,实现方式基本就是将上面实现数字雨的数字换成字母,代码实现如下:
PANEL_width = 400
PANEL_highly = 500
FONT_PX = 15
pygame.init()
# 创建一个窗口
winSur = pygame.display.set_mode((PANEL_width, PANEL_highly))
font = pygame.font.SysFont('123.ttf', 22)
bg_suface = pygame.Surface((PANEL_width, PANEL_highly), flags=pygame.SRCALPHA)
pygame.Surface.convert(bg_suface)
bg_suface.fill(pygame.Color(0, 0, 0, 28))
winSur.fill((0, 0, 0))
letter = ['q', 'w', 'e', 'r', 't', 'y', 'u', 'i', 'o', 'p', 'a', 's', 'd', 'f', 'g', 'h', 'j', 'k', 'l', 'z', 'x', 'c',
          'v', 'b', 'n', 'm']
texts = [
    font.render(str(letter[i]), True, (0, 255, 0)) for i in range(26)
]
# 按窗口的宽度来计算可以在画板上放几列坐标并生成一个列表
column = int(PANEL_width / FONT_PX)
drops = [0 for i in range(column)]
while True:
    # 从队列中获取事件
    for event in pygame.event.get():
        if event.type == pygame.QUIT:
            exit()
        elif event.type == pygame.KEYDOWN:
            chang = pygame.key.get_pressed()
            if (chang[32]):
                exit()
    # 暂停给定的毫秒数
    pygame.time.delay(30)
    # 重新编辑图像
    winSur.blit(bg_suface, (0, 0))
    for i in range(len(drops)):
        text = random.choice(texts)
        # 重新编辑每个坐标点的图像
        winSur.blit(text, (i * FONT_PX, drops[i] * FONT_PX))
        drops[i] += 1
        if drops[i] * 10 > PANEL_highly or random.random() > 0.95:
            drops[i] = 0
    pygame.display.flip()
实现效果如下:

3. 图片
最后,我们使用图片来实现这一效果,图片我们就使用雨滴吧,这里我们使用 tkinter 创建窗口,代码实现如下:
# 初始雨滴纵坐标
INIT_HEIGHT = 10
# 雨滴创建
def rainmake(canvas, imagefile):
    rainlist = []
    for i in range(5):
        # 根据图片,创建一排雨滴
        rainlist.append(canvas.create_image(100 + 80 * i, INIT_HEIGHT, anchor=NE, image=imagefile))
    return rainlist
# 雨滴下落
def raindown(tk, canvas, imagefile, sec):
    # 线程间等待
    time.sleep(sec)
    rainlist = rainmake(canvas, imagefile)
    # 每个雨滴的纵坐标值
    height = [INIT_HEIGHT] * 10
    while True:
        # 每次移动前稍等一会
        time.sleep(0.2)
        # 5 个雨滴一起移动
        for i in range(5):
            # 如果雨滴字到底了,则不继续移动
            if not height[i] == 0:
                # 设置下落步调
                rnd = random.randint(5, 50)
                canvas.move(rainlist[i], 0, rnd)
                height[i] = height[i] + rnd
                tk.update()
        for i,h in enumerate(height):
            if h > 400:
                # 当雨滴字走到最下方,则删除
                canvas.delete(rainlist[i])
                tk.update()
                # 清空该雨滴的 height
                height[i] = 0
                print(i,h,height)
        # 全到底,则跳出循环
        if height == [0] * 5:
            print('break:',threading.current_thread().name)
            break
def lookloop(tk, canvas, thread):
    aliveflg = False
    while True:
        # 5s 检测一次
        time.sleep(5)
        for th in thread:
            if th.is_alive():
                aliveflg = True
            else:
                aliveflg = False
        if aliveflg == False:
            break
    canvas.create_text(100 , 200, text='雨停了...', fill='red')
    canvas.pack()
    time.sleep(5)
    tk.destroy()
实现效果如下:

更多Python知识,请关注Python视频教程!!
神龙|纯净稳定代理IP免费测试>>>>>>>>天启|企业级代理IP免费测试>>>>>>>>IPIPGO|全球住宅代理IP免费测试


